• For more information on how to avoid pop-up ads and still support SkiTalk click HERE.

chris_the_wrench

Spinning wrenches and throwing spokes.
Skier
Joined
Dec 20, 2020
Posts
1,392
Location
Chinook Pass
I have previously "teased" that I thought I had a way to effectively use Daymakers directly on the ski without the binding toe and heel pieces required. Tonight I figured out exactly how to mount my Daymakers directly to PowerRail plates. This means that the toes and heels of the PowerRail bindings can go in the pack. So the weight on each leg now works out to:

So this is kind of your diy version of the cast system except your also removing the alpine heel piece?

Im all for cool diy schtuff. Keep us posted!
 

James

Out There
Instructor
Joined
Dec 2, 2015
Posts
24,965
Power rail you’re talking Head/Tyrolia?

02F0C0D9-E25A-429D-B6E2-A016D3F7606E.jpeg


RJS

Out on the slopes
Skier
Joined
Feb 28, 2017
Posts
627
Location
Seattle area
Like others on this thread, I got the Daymakers + skins this season as an easy entry point to touring. I didn't want to commit to a separate skis + bindings + boots purchase if it turned out that I did not enjoy touring, but I figured if I really enjoyed it, I could justify a large purchase of a second setup for next season.

I've done three tours (all within ski area boundaries) now with them:

Tour 1: 1,350 feet uphill
Tour 2: 2,100 feet uphill
Tour 3: 4,000 feet uphill

So far I quite like them! While I'm skiing on probably one of the heaviest setups in the history of backcountry touring with my Nordica Enforcer 110s, Tyrolia Attack 13s, and Daymakers, I've never toured on a lighter setup so I don't know the difference ;). As far as their operation goes, I gave Daymaker my BSL when ordering them so they came pre-setup, so I didn't need to do any adjusting when they arrived. They are easy to use.

I'm hoping to do some longer tours this spring when avalanche danger stays consistently low, so I can report back on how they perform.

For fun, here's a picture from my third tour, which was yesterday morning:
IMG_5813.jpg
 

Noodler

Sir Turn-a-lot
Skier
Joined
Oct 4, 2017
Posts
6,434
Location
Denver, CO
Power rail you’re talking Head/Tyrolia?

View attachment 127602


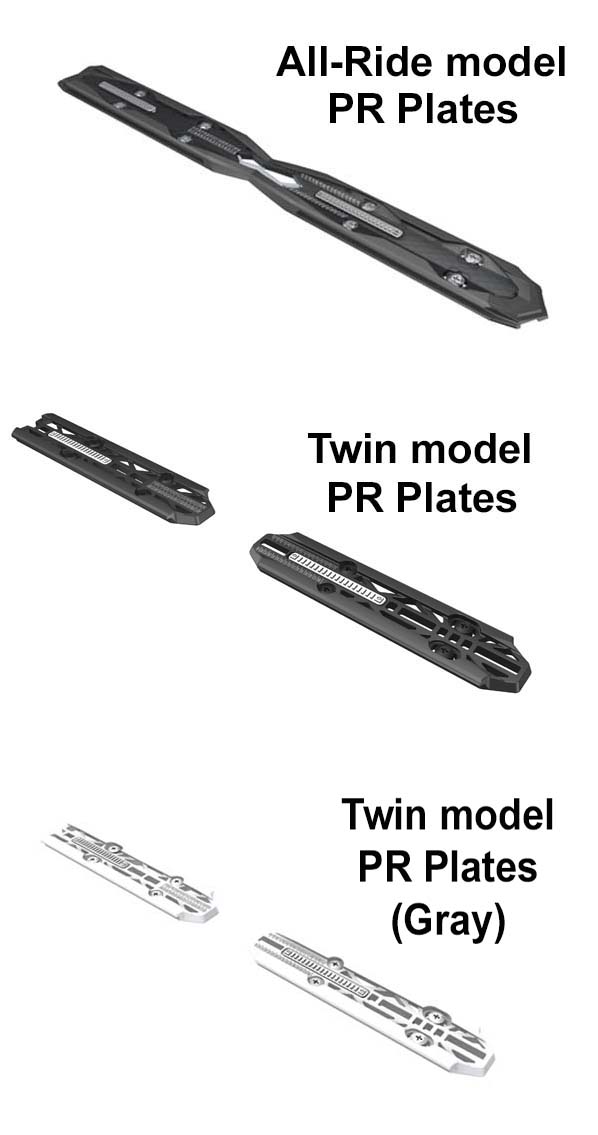
Yes, Tyrolia/Head PowerRail base plates. I'm thinking about how to do this for other bindings without needing PowerRail bindings, but the advantage of the rail base plates is that they make for a nice interface for the Daymakers. The other MAJOR advantage is that the base of the PR binding toe that interfaces with the rail base plates is only attached by 4 screws just like any other Tyrolia binding toe. This was the key for my solution. It gave me the part I needed to easily connect the Daymakers to the base plates without having to do any irreversible modifications to the Daymakers. All I needed to do was figure out how to connect that part of the binding toe to the Daymakers. It ended up being fairly trivial when I figured out that the part can go onto the rails backwards or forwards and lock in just as easily. This will all be more clear when I post more pictures and have tested the system.

Of course there are some obvious disadvantages. It weighs just as much as a Shift, so might as well buy the Shift. It costs as much as a Shift (Daymakers + PR Bindings), so might as well buy the Shift. The transition may really suck even though the parts do easily slide onto the skis. You'll need room in your pack for the binding pieces (which take up more room than the Daymakers, but of course they would swap into the same spot in the pack.
 

tomahawkins

Making fresh tracks
Skier
SkiTalk Supporter
Joined
Dec 3, 2019
Posts
1,851
Location
Bellingham, WA
I’m also experimenting with my Daymakers. One option would be to lose the bottom track and make a couple of brackets: inner width 61mm, hole to hole 180mm. It would be cool if you could have these just slide on to the demo binding track.

On my setup I’m contemplating using just the upper track and binding bails and making a toe mounting bracket and another set of heel risers. This is a weight reduction of 223/746g, ignoring the hardware I have to add.
 

Noodler

Sir Turn-a-lot
Skier
Joined
Oct 4, 2017
Posts
6,434
Location
Denver, CO
I’m also experimenting with my Daymakers. One option would be to lose the bottom track and make a couple of brackets: inner width 61mm, hole to hole 180mm. It would be cool if you could have these just slide on to the demo binding track.

On my setup I’m contemplating using just the upper track and binding bails and making a toe mounting bracket and another set of heel risers. This is a weight reduction of 223/746g, ignoring the hardware I have to add.

Are you suggesting the removal of the 4-bar linkage and just using the top frame and bails? So you would lose the moving pivot point?
 

tomahawkins

Making fresh tracks
Skier
SkiTalk Supporter
Joined
Dec 3, 2019
Posts
1,851
Location
Bellingham, WA
Are you suggesting the removal of the 4-bar linkage and just using the top frame and bails? So you would lose the moving pivot point?
This is what I’m doing, but for your setup I was just suggesting replacing the bottom frame with some custom brackets. Maybe it would save some weight and have good track integration. But you already have something working so you may already be at the point of diminishing returns.
 

Noodler

Sir Turn-a-lot
Skier
Joined
Oct 4, 2017
Posts
6,434
Location
Denver, CO
This is what I’m doing, but for your setup I was just suggesting replacing the bottom frame with some custom brackets. Maybe it would save some weight and have good track integration. But you already have something working so you may already be at the point of diminishing returns.

I would not want to lose the moving pivot of the 4-bar linkage (and the improvement in uphill traction). If you're willing to modify the bottom frame then you could come up with additional ways to have the Daymakers interface with a rail. That was the direction I started going in, but really wanted to see if there was a way to do it without any irreversible modifications. I'm not going to use the Daymakers forever. They're a stop-gap solution on my way to a dedicated touring setup. So I want to retain their resale value.
 

Noodler

Sir Turn-a-lot
Skier
Joined
Oct 4, 2017
Posts
6,434
Location
Denver, CO
Maiden voyage for my Daymakers Hack is in the books. It was much more successful than I had anticipated. I was growing quite concerned about the transition and dealing with the binding heels and toes, but it really turned out to work quite well. My transition was only 1 minute more (6 minutes) than my fastest transition previously. My remaining concern is that bindings take up a bunch of space in the pack. I need to come up with a better way to place them in my pack. I did a full dry-run of a backcountry outing (including shovel, probe, etc.) in the pack along with the bindings, water, etc. and the pack weight was just over 12 lbs. So although the bindings take up space, the pack itself really didn't feel burdensome on the uphill. What I did notice was the over 2 lbs. per leg of reduced weight. I was using new skins (Pomoca Climb 2.0) which I've learned need to be broken-in before they start gliding better, so I was fighting the new skins, lack of sleep, and a bit of a deep chest cold, but with all that going against me I still managed a 45 minute climb for the 1200' of vertical.

So here are some shots of the build. If anyone is interested in the detail on how to do this hack I can post the info.

Fastening the PowerRail interface to the bottom frame of the Daymakers using short binding screws & washers:
20210318_044837381_iOS (2).jpg


Side shot of the PowerRail interface mounted to the Daymakers (blue frame for length adjustments and the heel/toe lugs are removed since they're no longer needed):
20210318_045612102_iOS (2).jpg


Daymakers Hack mounted to the ski:
20210318_045524009_iOS (2).jpg
 

Noodler

Sir Turn-a-lot
Skier
Joined
Oct 4, 2017
Posts
6,434
Location
Denver, CO
Used the Daymakers hack setup for a transition at the top and the bottom today. So as I noted before it does require futzing around with the binding heels and toes to pop them on and off the skis, but it's really not too bad and worked quite well. I did come up with a better way to keep them in my pack, but they only fit into the main compartment, so I did get some snow in there.
 

Sponsor

Staff online

Top